Building a pool requires a clear plan and the right tools. Each layout, digging, plumbing, structural work, and finishing depends on equipment that helps shape the pool accurately and safely. The list below follows the order in which these tools are used during the construction process, making it easy to understand where each one fits in.

The Complete Equipment List for Pool Construction: Excavation to Finishing
1. Measuring Tape and Marking Tools
Layout mistakes are one of the most common issues with DIY pool projects. A pool that is placed 12 inches too far left can violate setbacks, cause drainage problems, or sit over utility lines.
A long tape (usually 100 ft), marking paint, string lines, and stakes are used to:
- mark the excavation footprint
- mark shallow and deep end transitions
- set the perimeter for equipment pads and decking
These markings guide the machine operators and define the geometry the shell must follow.
Pro Tip: Mark both the inside and outside lines of the dig. This helps the excavator operator avoid shaving too close to the structural footprint.
Common Mistake: Using short tapes. For pools over 20 ft, use a 100-ft reel tape to keep measurements straight.
2. Laser Level or Builder’s Level
Elevation control matters more than most people expect. A pool can be perfectly shaped but still be wrong if the finished waterline sits too high against the house or too low for the deck grade.
A laser level is used repeatedly:
- before digging
- during digging
- after shaping
- when setting the steel height
It keeps the entire yard aligned with the pool, not the other way around.
3. Soil Testing Tools
Some yards have hardpan, others have clay that swells, and some have sandy pockets that collapse. A quick soil probe tells you how stable the ground is and whether you need to over-dig and bring in compactible fill.
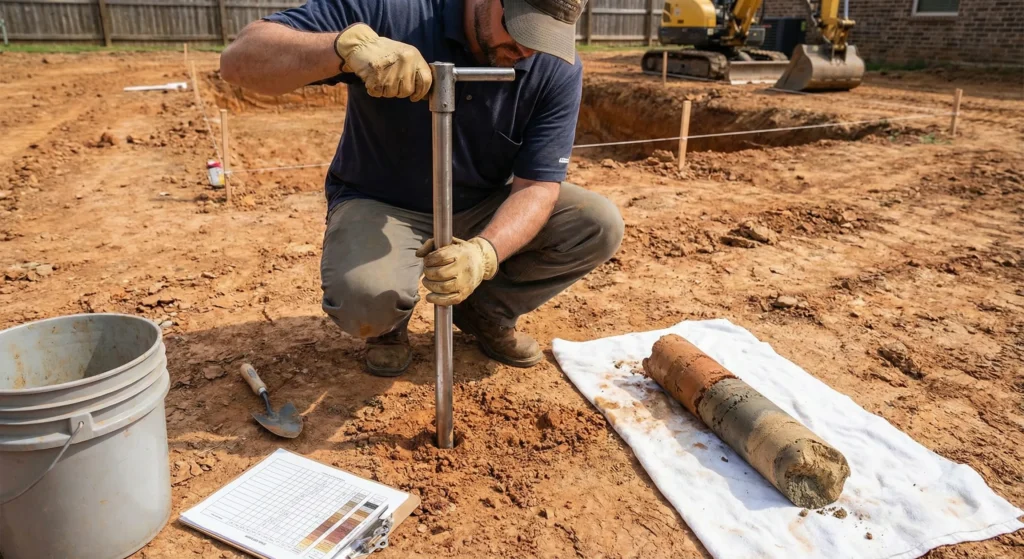
This is one of those steps that separates a good shell from one that cracks later.
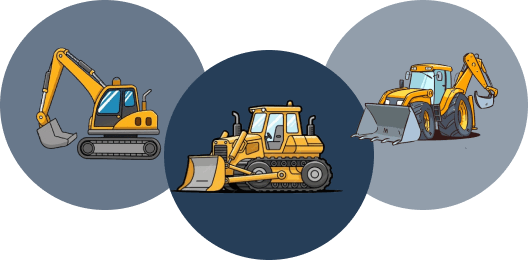
Digging and Earthmoving Tools
4. Excavator or Mini Excavator
This machine determines the accuracy of the hole itself. A skilled operator will dig close to final shape without over-cutting. Every inch of over-dig means extra concrete, more backfill, and more time correcting mistakes.
Mini excavators are used in tight backyards; full-size units are faster where access allows.
5. Skid Steer Loader
Once the excavator roughs out the pool, the skid steer handles the messy part:
- hauling soil to the dump truck
- cleaning corners the excavator can’t shape
- leveling the pad where pumps and filters will sit
Think of it as the cleanup machine that keeps the dig moving smoothly.
6. Dump Trailer or Dump Truck
Soil piles grow fast. A 15×30 pool can generate 40+ cubic yards of dirt.
Dump trucks keep the site open so workers aren’t climbing over hills of spoil. Without one, the project slows to a crawl.
Ground Compaction and Base Preparation Tools
7. Plate Compactor
Once digging ends, attention shifts to the floor. Loose soil under a pool is a long-term failure point.
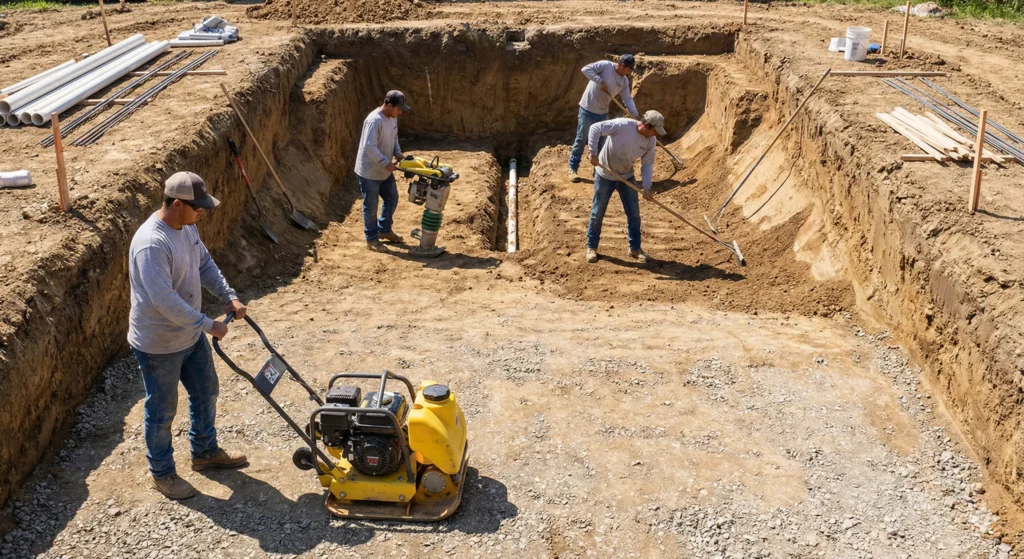
A plate compactor gives the base enough density so the concrete shell or fiberglass insert doesn’t shift over time. Most builders compact in overlapping passes to avoid soft pockets.
8. Jumping Jack / Rammer
A different tool is needed for plumbing trenches. These trenches are narrow and deep enough that a plate compactor can’t touch them.
A rammer drops concentrated force down a small footprint, preventing trench settlement that might snap a PVC joint later.
9. Shovels and Grading Rakes
Machine cuts always leave rough areas: corners, the deep-end break, the hopper slope.
Workers use shovels and rakes to refine these shapes so the steel grid will sit evenly.
Plumbing and Electrical Installation Tools
10. Trenching Machine
Trenching equipment cuts paths for plumbing pipes, conduits, and drainage lines. These trenches need uniform depth to maintain proper water flow and protect electrical components.
11. PVC Pipe Cutter and Deburring Tools
Jagged edges cause leaks. A proper pipe cutter ensures square cuts, while deburring tools smooth the edges. This ensures the solvent cement spreads evenly for a watertight seal.
12. Conduit Bender and Electrical Hand Tools
Pool lighting, pumps, and control panels require electrical lines. A conduit bender shapes metal or PVC conduits so wiring can be routed safely. Basic electrical hand tools help with grounding, bonding, and panel installation.
Structural Reinforcement Tools
13. Rebar Cutter and Rebar Bender
Concrete pools rely on a steel framework. Rebar is cut and bent to form a supportive grid inside the shell. This framework helps prevent cracks and strengthens the entire structure.
14. Tie Wire Twister or Rebar Tying Tool
Rebar must be secured so it stays in place when concrete or gunite is applied. Tie wire tools fasten steel bars together, keeping the grid tight and aligned.
Pro Tip: Don’t forget “chairs” or concrete blocks (dobies). These hold the rebar off the dirt so it ends up inside the concrete, not resting below it.
Concrete and Shell Construction Tools
15. Concrete Mixer or Concrete Pump
For smaller projects or touch-ups, a standard concrete mixer handles on-site mixing efficiently. However, larger installs usually require a concrete pump to deliver ready-mix directly into the pool form. The decision often comes down to site access and total yardage. To figure out exactly how much material you need before renting equipment, you can run the numbers through our concrete volume calculator.
16. Shotcrete or Gunite Nozzle Equipment
Most pools use pneumatically applied concrete (shotcrete or gunite) rather than poured concrete. High-velocity nozzles spray the material onto the steel framework, creating a dense, watertight shell.
17. Trowels and Finishing Tools
After concrete is applied, workers use trowels and floats to shape steps, ledges, and corners. These tools ensure the shell cures with a smooth and accurate surface.
Interior Finishing Tools
18. Tile Saw and Tile Setting Tools
If the pool design includes waterline tile or coping, a tile saw cuts each piece to size. Tile trowels, spacers, and grout tools help install and finish the tile work cleanly.
19. Plaster Mixer and Plaster Trowels
The interior finish is the last construction step before filling the pool. Plaster has a narrow working window of 60–90 minutes so mixers must keep batches consistent.
Large trowels flatten the surface so it cures smooth rather than streaked or rough.
Decking and Surrounding Area Tools (Optional but Common)
These tools help complete the area around the pool, though they fall outside the 19 primary items:
- Concrete screeds
- Paver compaction tools
- Masonry saws
They help shape patios, walkways, and borders that complete the build.
Closing Notes
The tools listed above follow the actual timeline used in pool construction from marking the site to brushing the final plaster. Choosing the right equipment makes the building process smoother and helps ensure the pool remains stable and well-shaped for many years.

Ahmed Ijaz runs this construction rental directory with over 5 years of experience in SEO, content, and web optimization. Every page is built using real research, hands-on expertise, and carefully reviewed information to meet strong EEAT standards.